
Embroidered Bunny
I had such a blast trying hand embroidery for the first time with the Kiriki Press DIY Embroidered Doll Kit that I decided to make another doll. Inspired by Michelle Jewell's adorable soft toys, I would try making a rabbit sporting a cool J.Crew kind of look.
If you never tried hand embroidery before, I would definitely recommend it. It can be oh-so-calming coupled with your favorite podcast playing in the background. I adore This American Life and Snap Judgment, but I digress. Now on to the bunny!

Things you will need:
cotton fabric
bunny sketch template
No. 10 and No. 9 needles
pen
paint brush
stuffing
6" embroidery hoop
scissors
push pins
white fabric paint
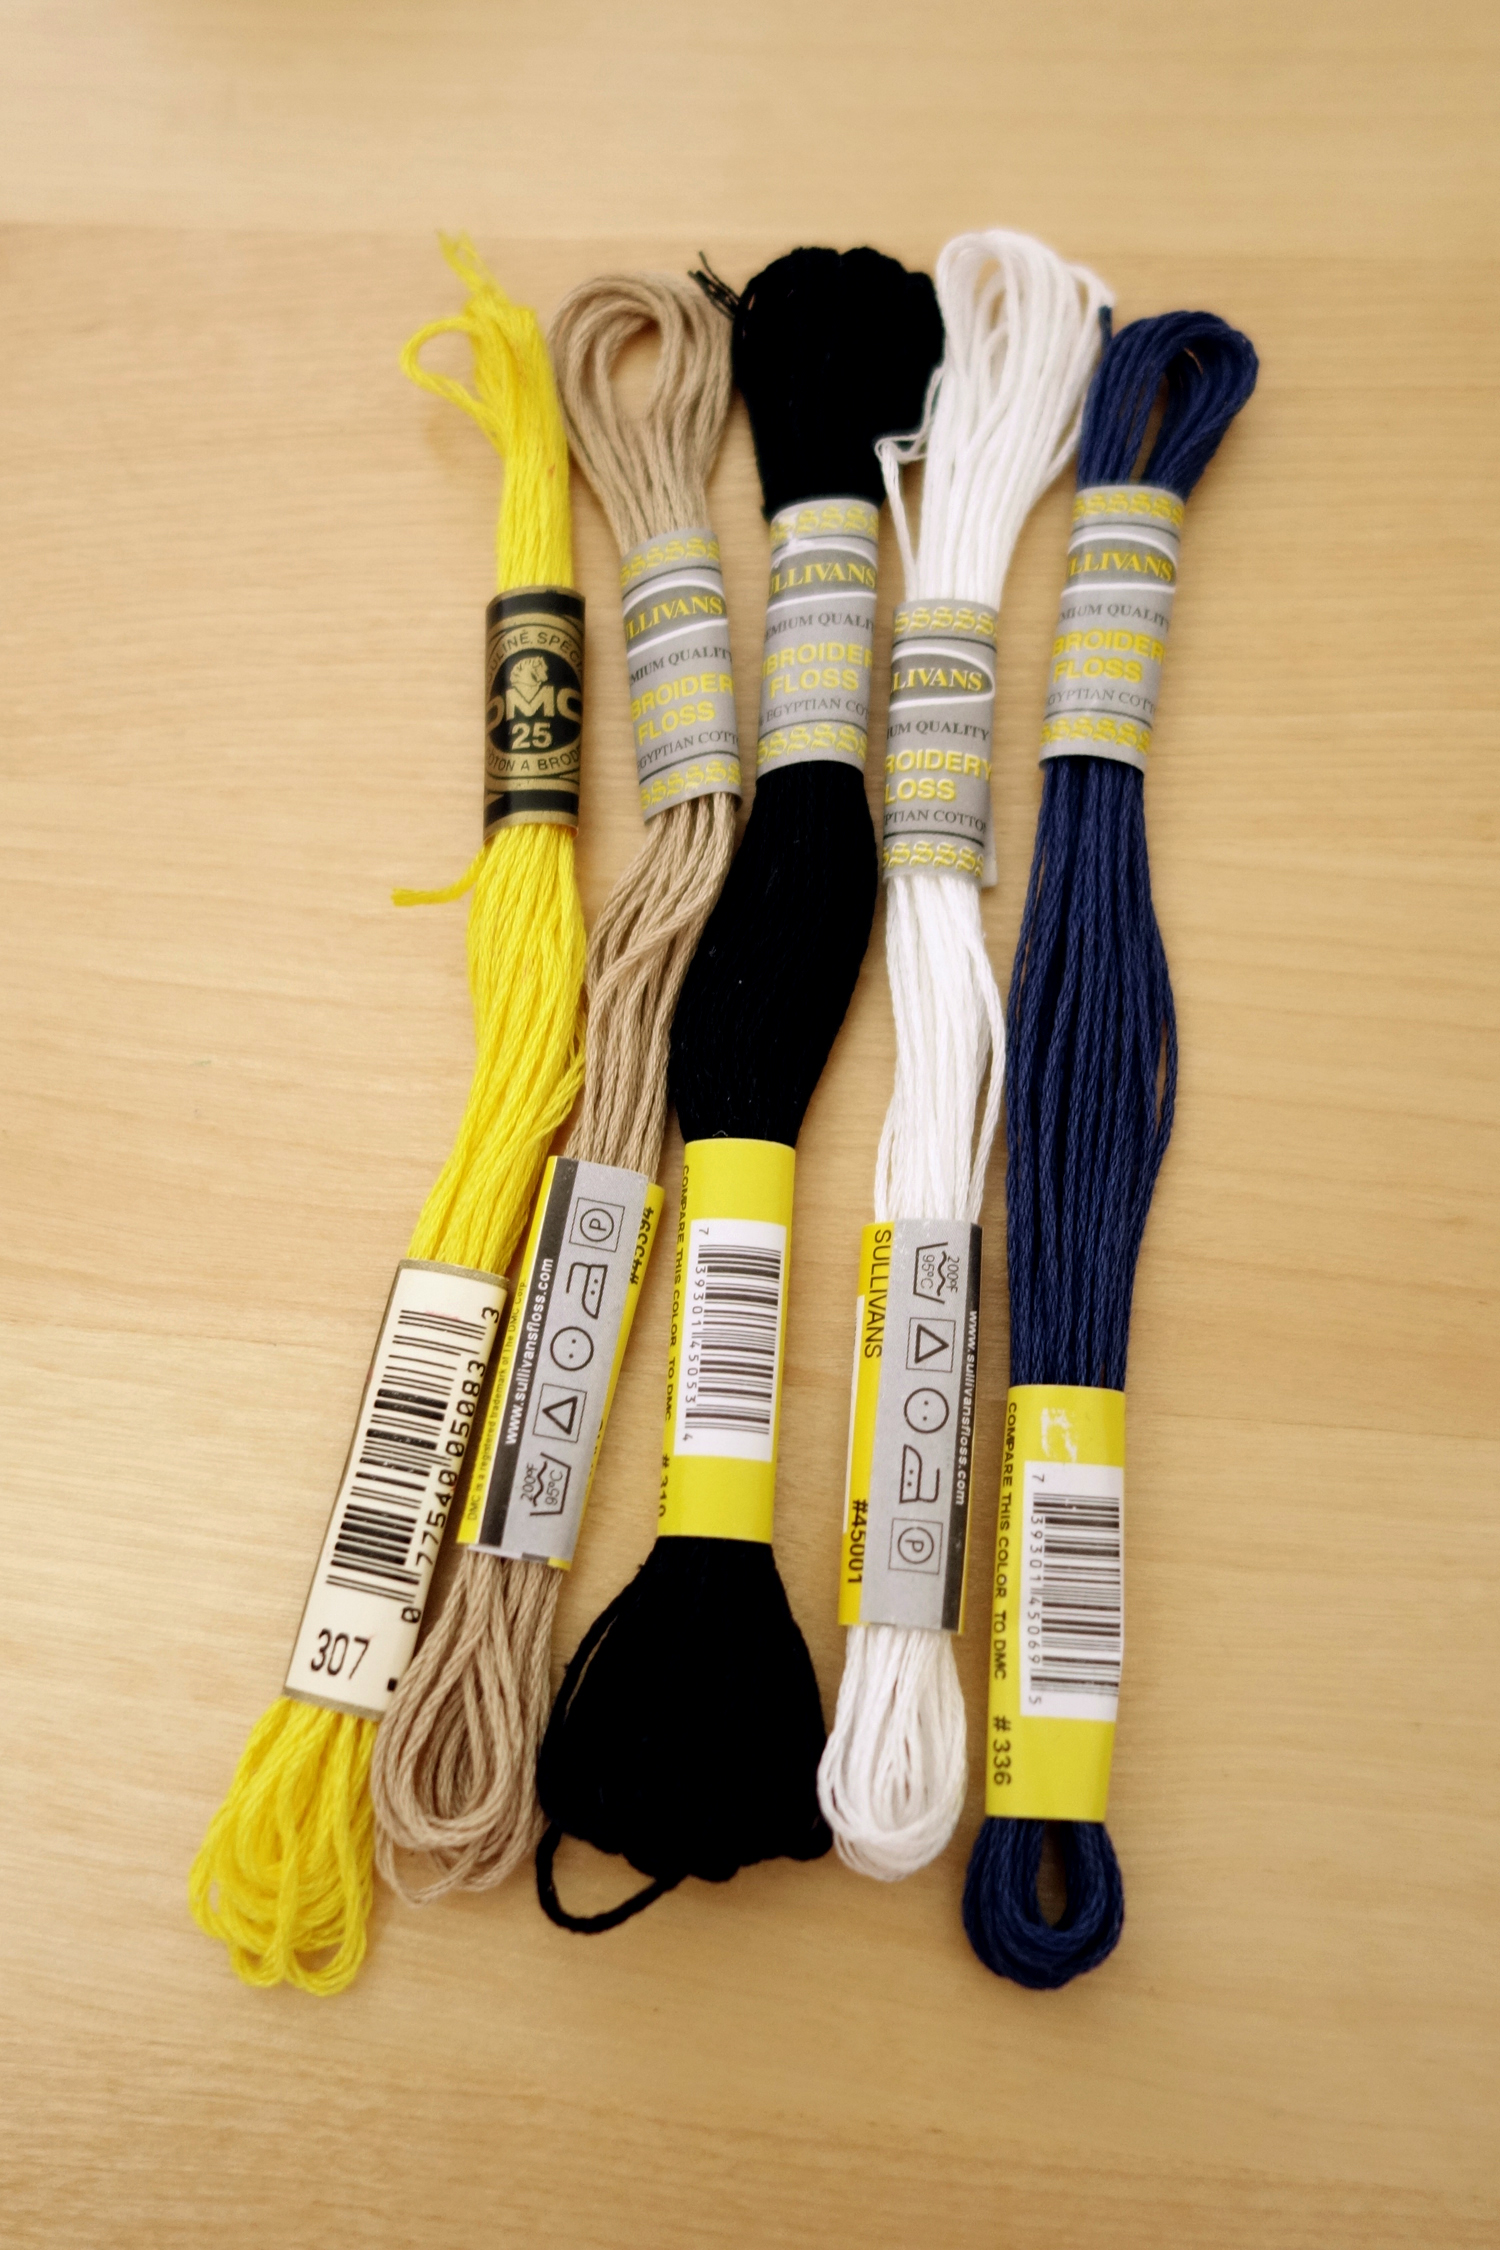
DMC or Sullivans (more cost-effective) embroidery floss


After securing your fabric tightly into the embroidery hoop, lightly draw out your sketch. Don't worry too much about the markings as they will be covered up with your stitches.

Paint every other stripe with white fabric paint.

For the remaining stripes, fill in with blue thread using the split stitch. I used the same type of stitch for the ears. For a polished look, satin stitch the heart and facial features.


Outline the body of the rabbit with a simple chain stitch to add a decorative touch to the doll's edge.

Once the embroidery is complete, place the backing piece to the finished embroidery and sew around the outline of the rabbit. Make sure to leave a 1.25" gap at the bottom so you can reverse it inside-out.


Trim along the edges, leaving a 0.25" margin. Do not get overly excited like how I did and accidentally cut too close to the edge!

Gently reverse the fabric inside out as you watch your bunny reveal itself. If you are having a hard time reversing the ears, use the eraser side of a pencil to carefully push them out.

Please feed me!
Add stuffing, being mindful not to overstuff.

Once your rabbis is adequately full, close up the bottom with a ladder stitch. Finito!


