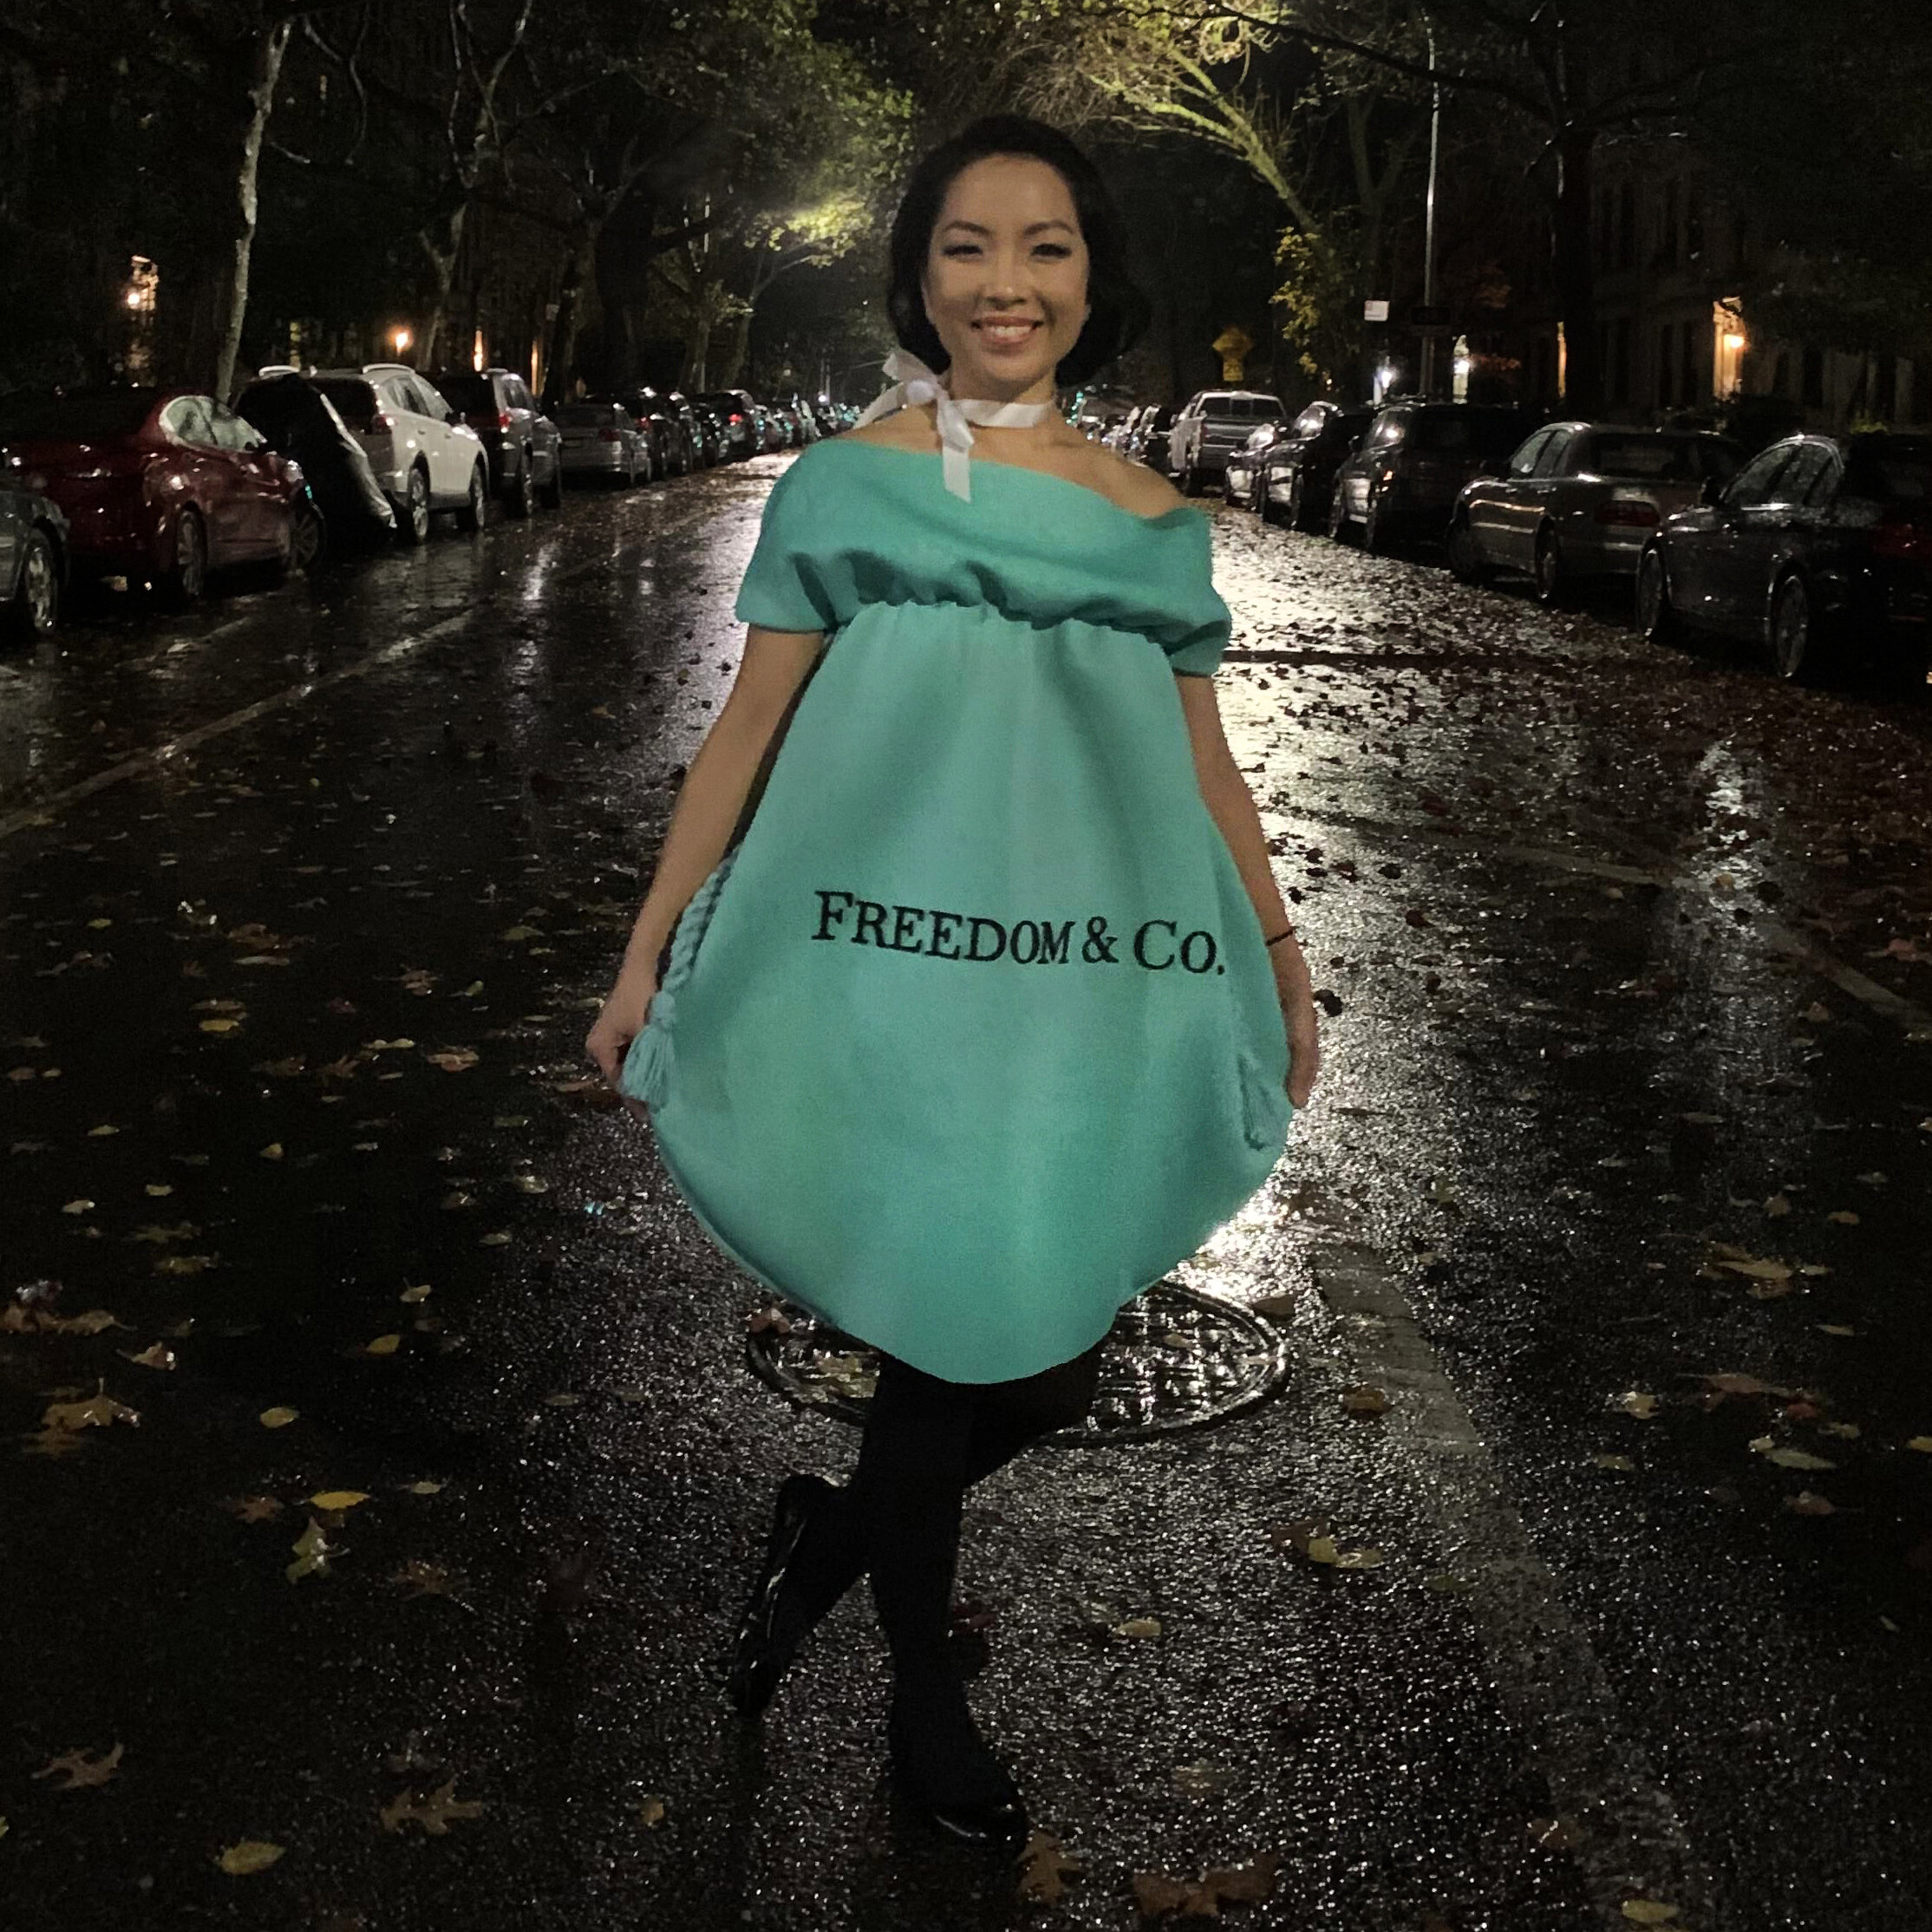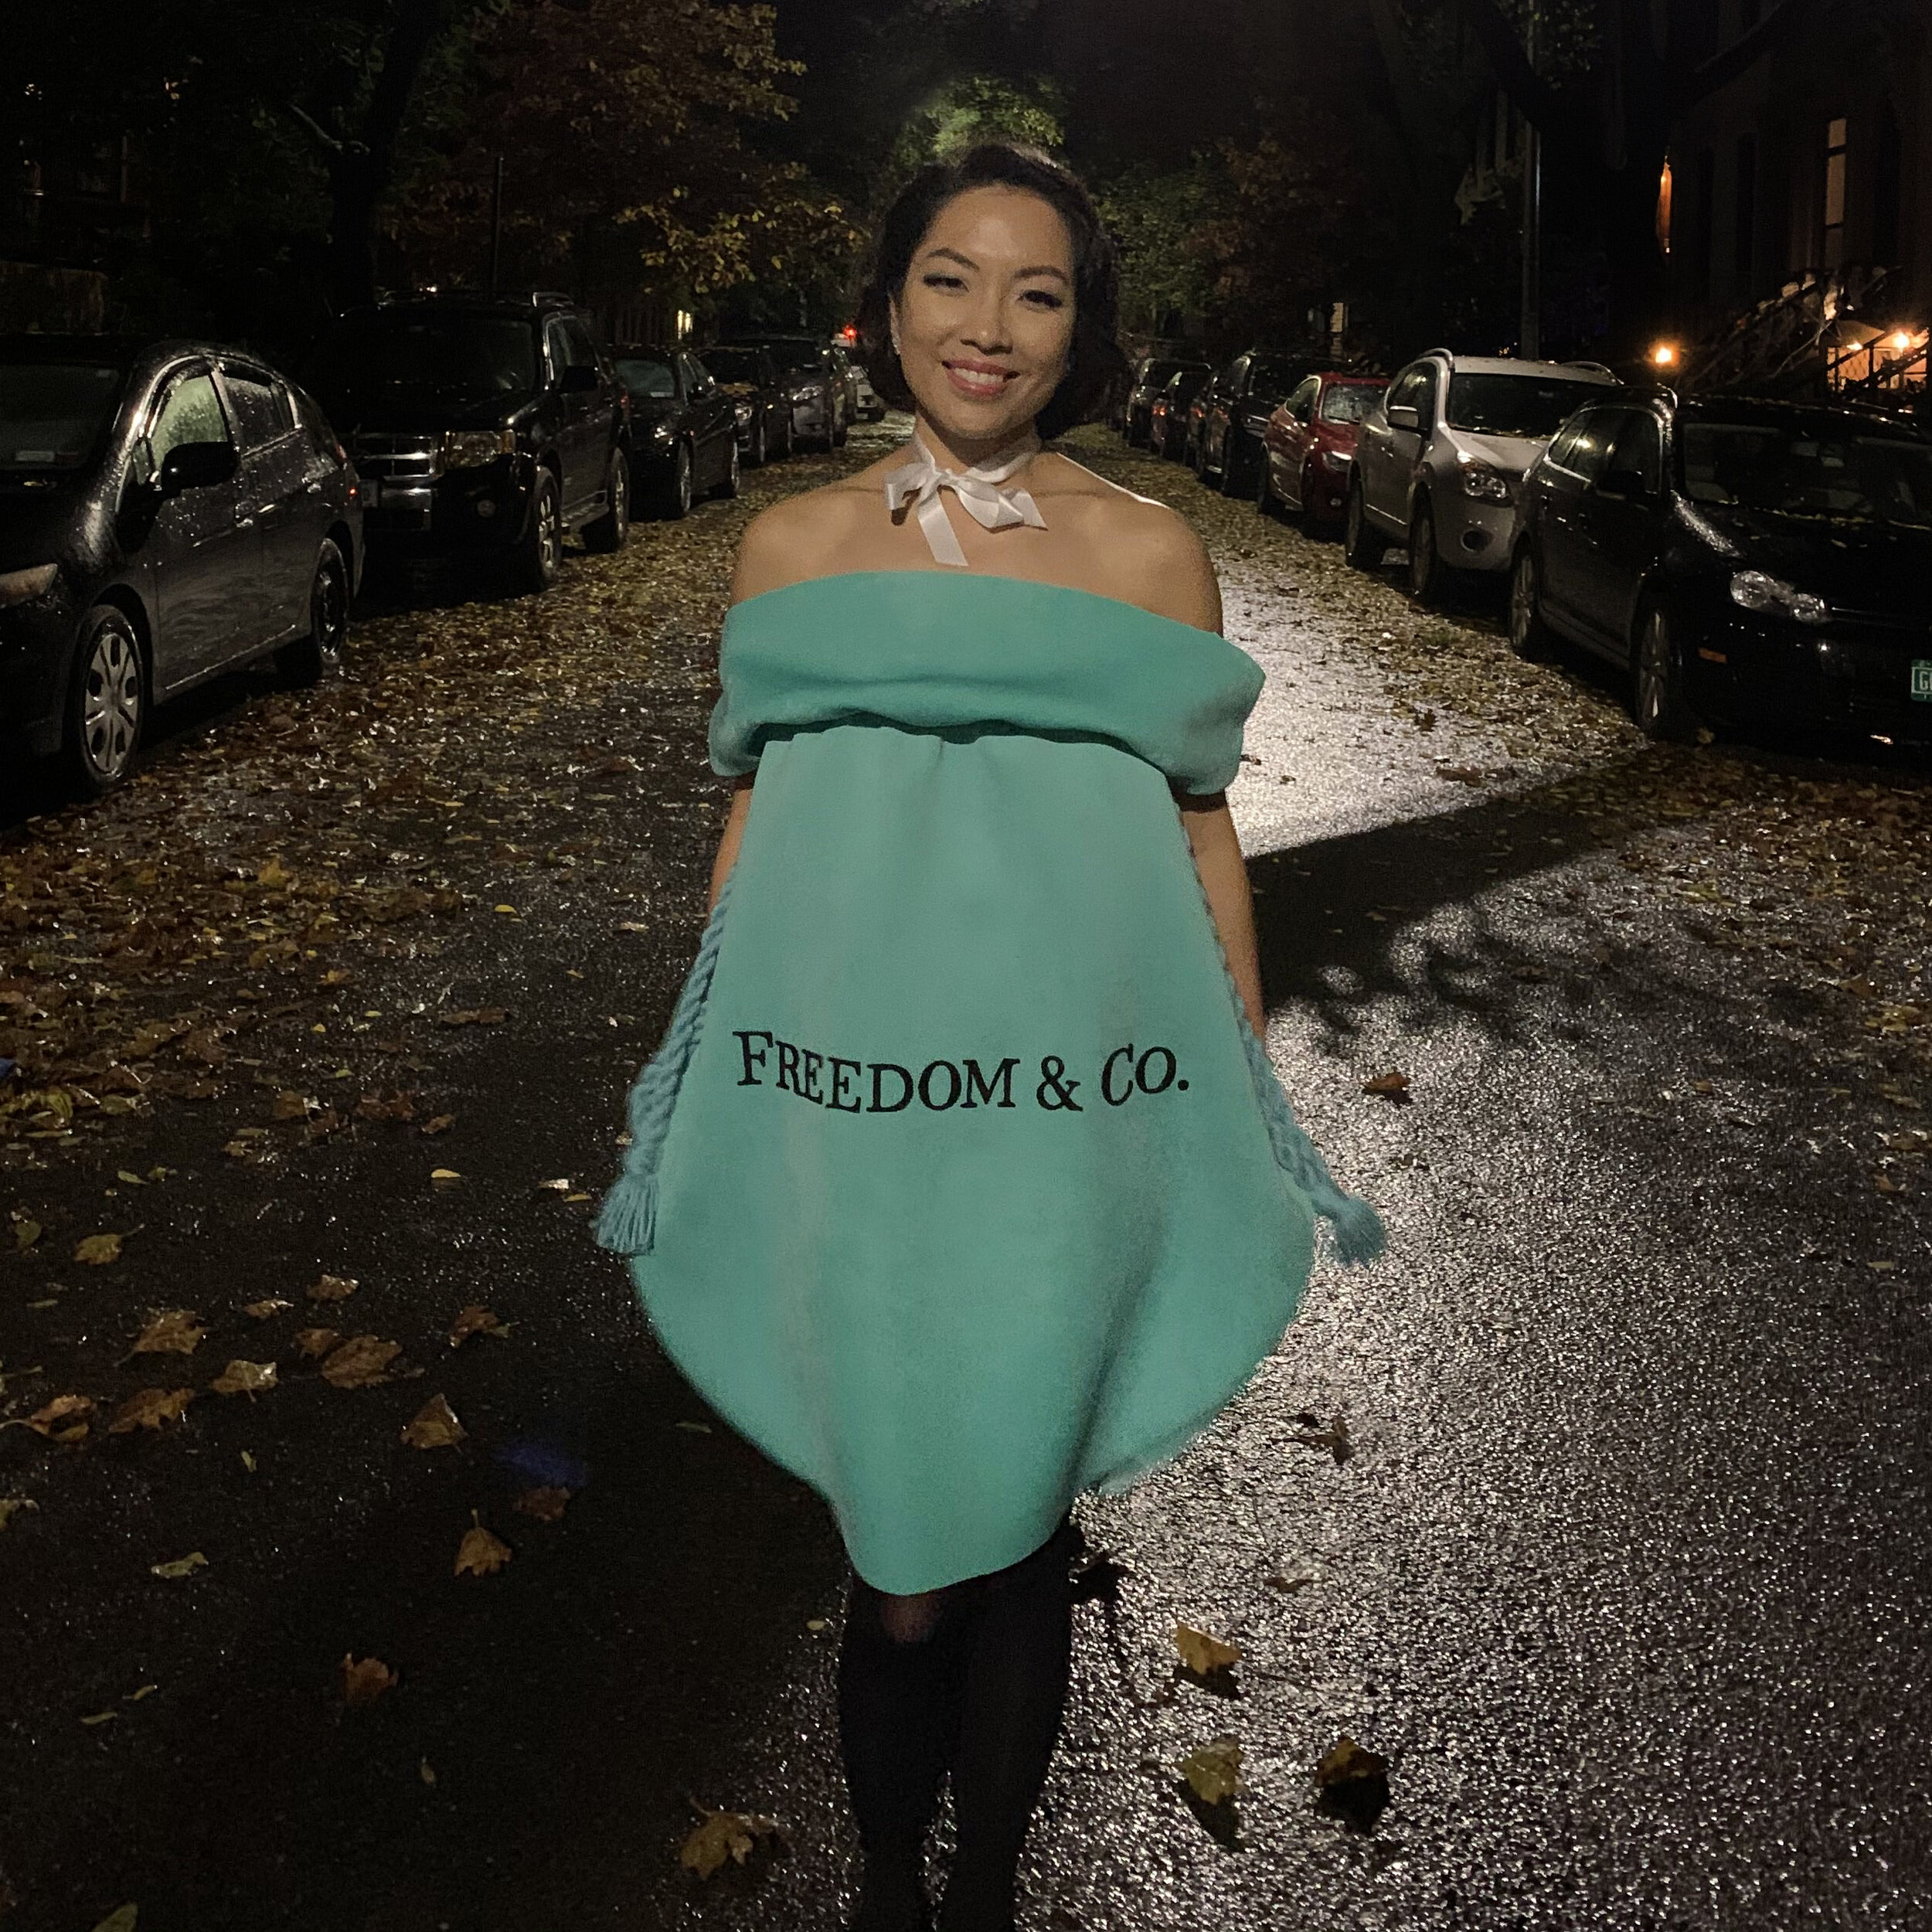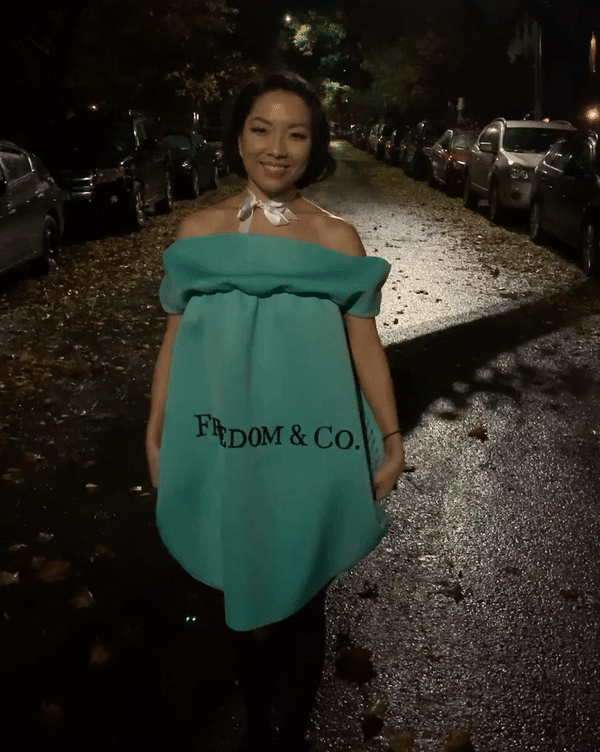
Tiffany & Co. Pouch Halloween Costume
I would say that Halloween is one of my favorite holidays. Throughout the year, I will be sporadically inspired by something that could be the perfect Halloween costume. And as the holiday gets closer, my creative juices really start flowing as I hone in on the one idea that feels uniquely me.
It is an exhilarating feeling trying to figure out how to take a thought in my head and bring it to life as a wearable object. Over the years, I have been a Facebook Fairy, a Harajuku Baby Doll and more recently Bruno Mars, each I remember my boyfriend being confused by the concept, but impressed by the outcome.

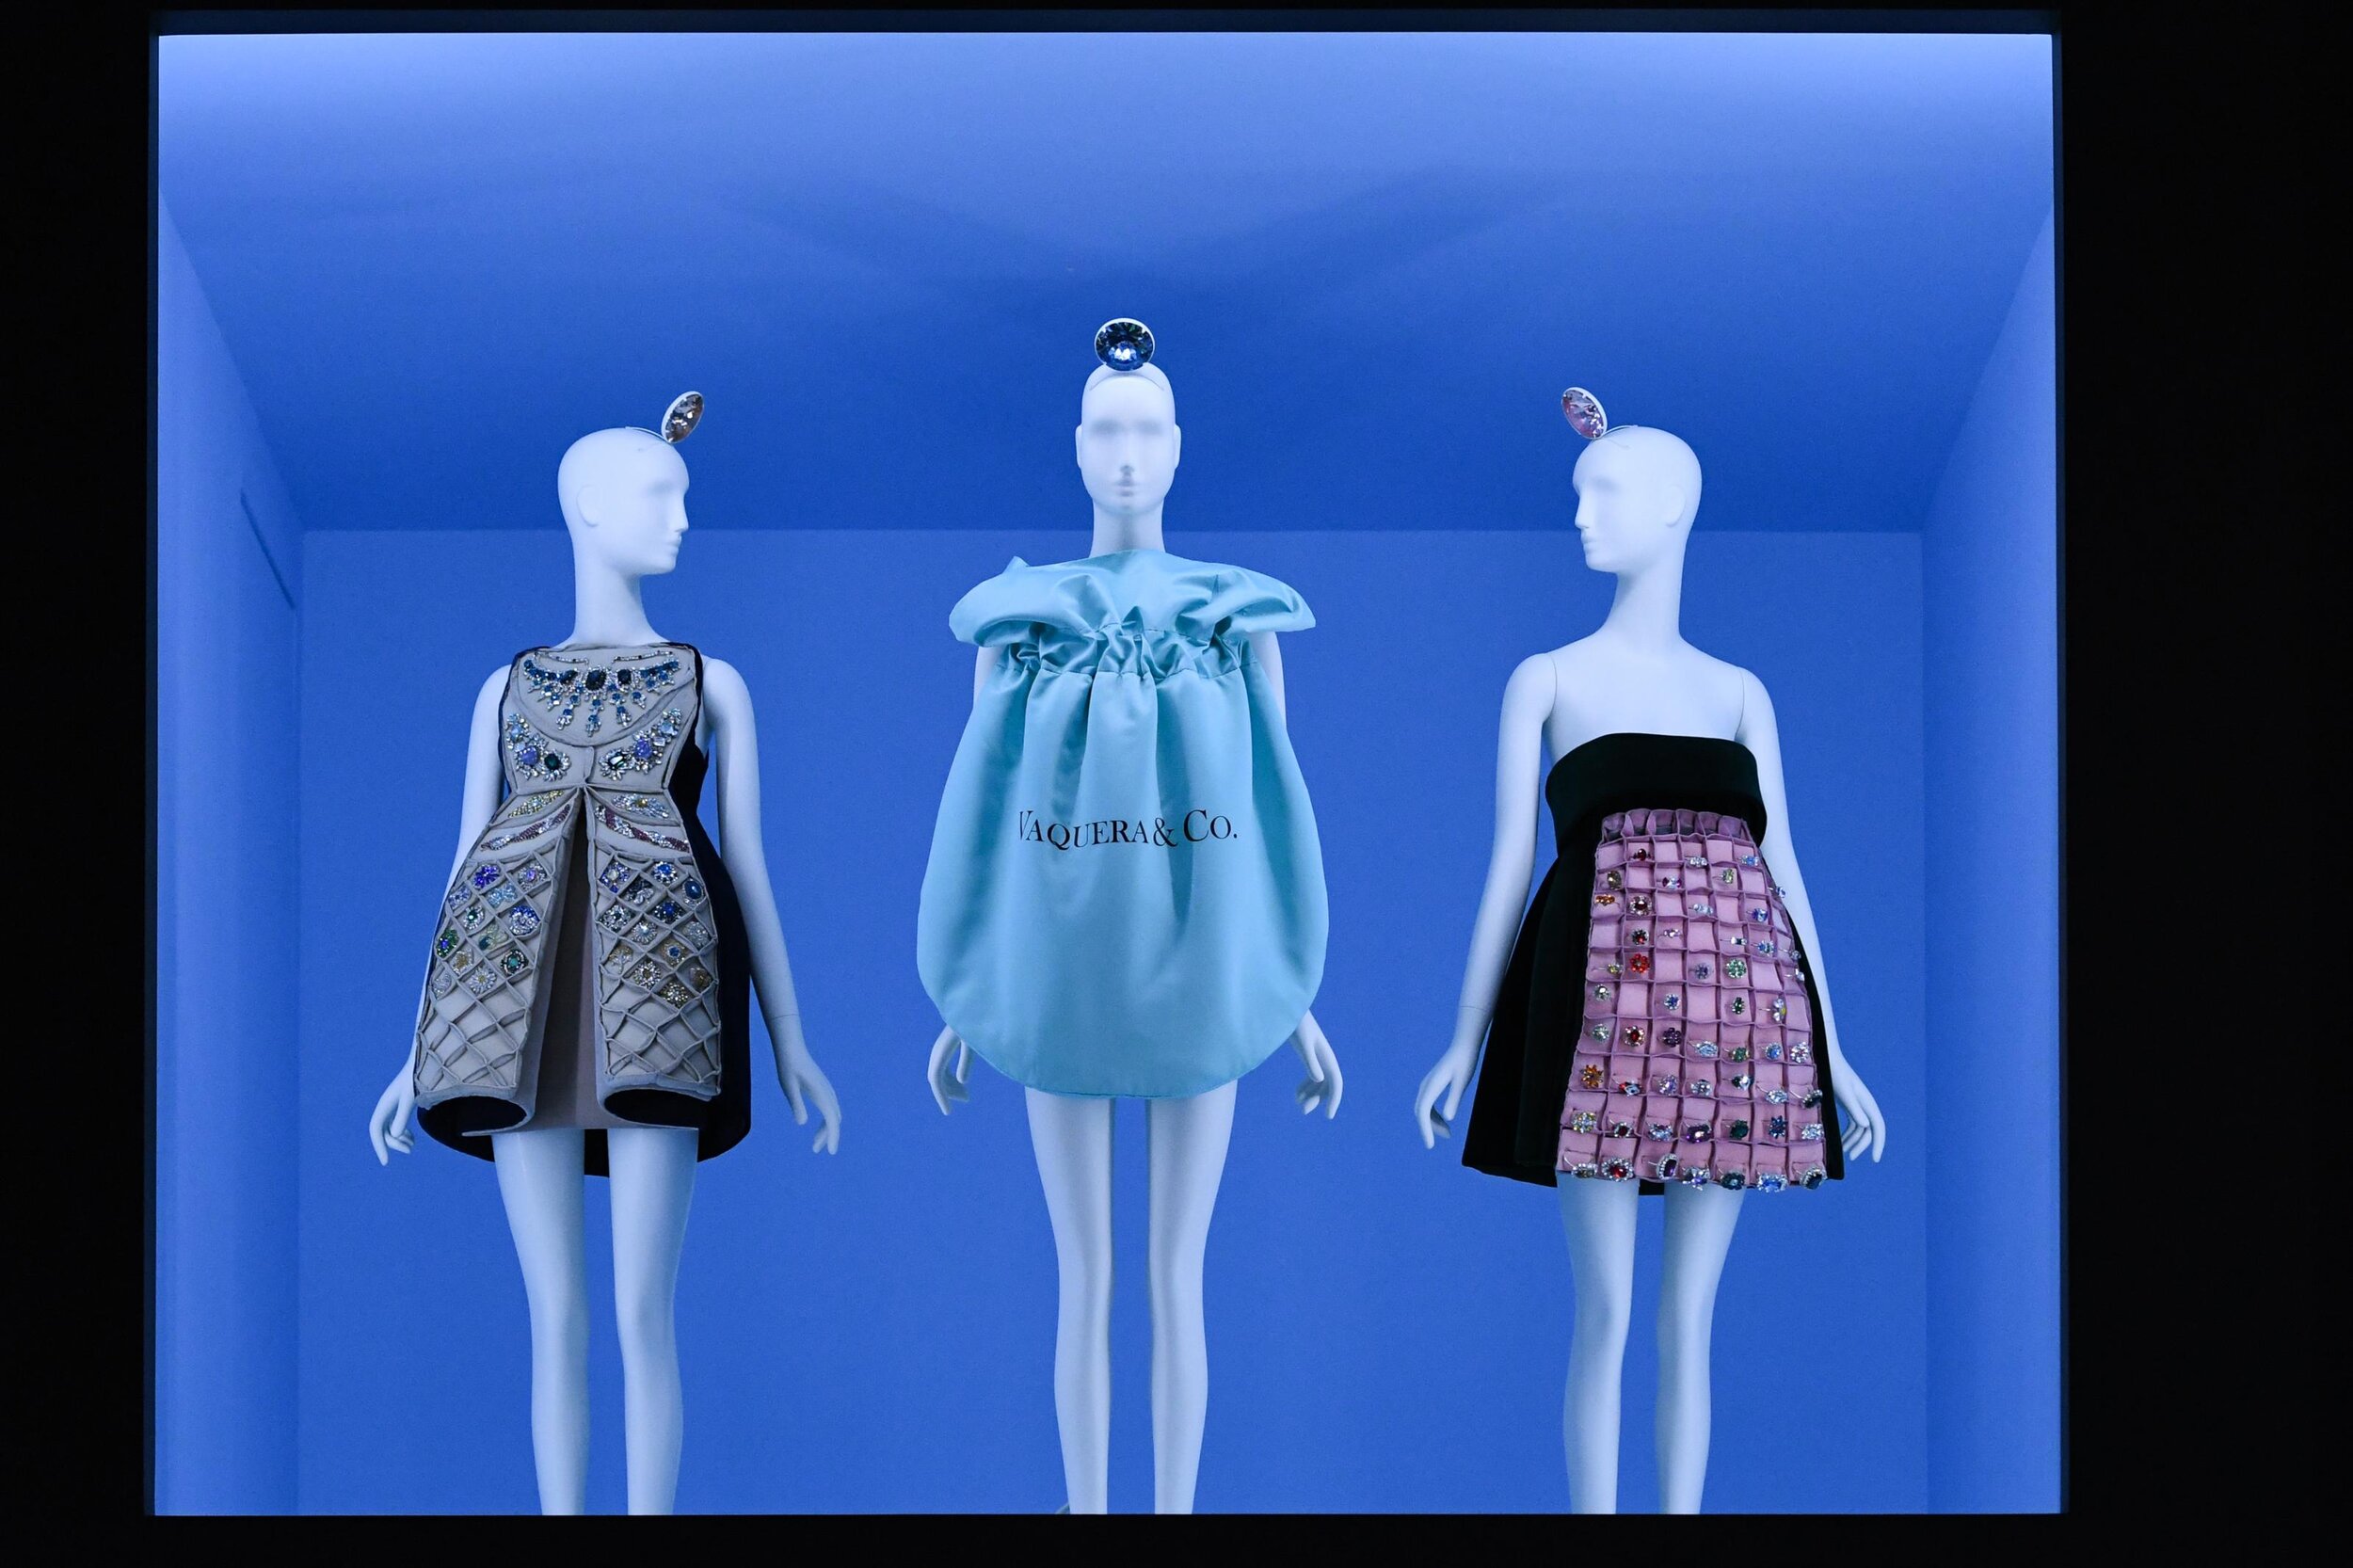
Well, this year my inspiration came early. At the Met’s Camp exhibit over the summer, I was completely smittened by a Vaquera outfit in the shape of a Tiffany & Co. pouch. I remember thinking it would be really fun to make my own version.

Sketch it out – initial drawings of the Tiffany & Co. pouch, which I will say are pretty close to what I made.

Looking for the perfect shade of blue
I visited a couple fabric stores in New York’s Garment District in search of fabric in the iconic Tiffany blue color. I was surprised to realize that the blue is more of a turquoise blue. I wanted to a fabric that would not wrinkle easily, have some structure, but still flowy – I found exactly that with a neoprene fabric in the perfect shade.


Same same, but different. For yarn, I went to Michael’s. You should have seen me at the store for a good hour trying to pick which one would most compliment the fabric I bought. The yarn colors did not match exactly so I would go back and forth, trying to figure out if it would be better if the yarn was darker or lighter than the fabric.

Once I got all the materials, I could start crafting. I cut two mirrored pieces for the pouch and pinned them together.

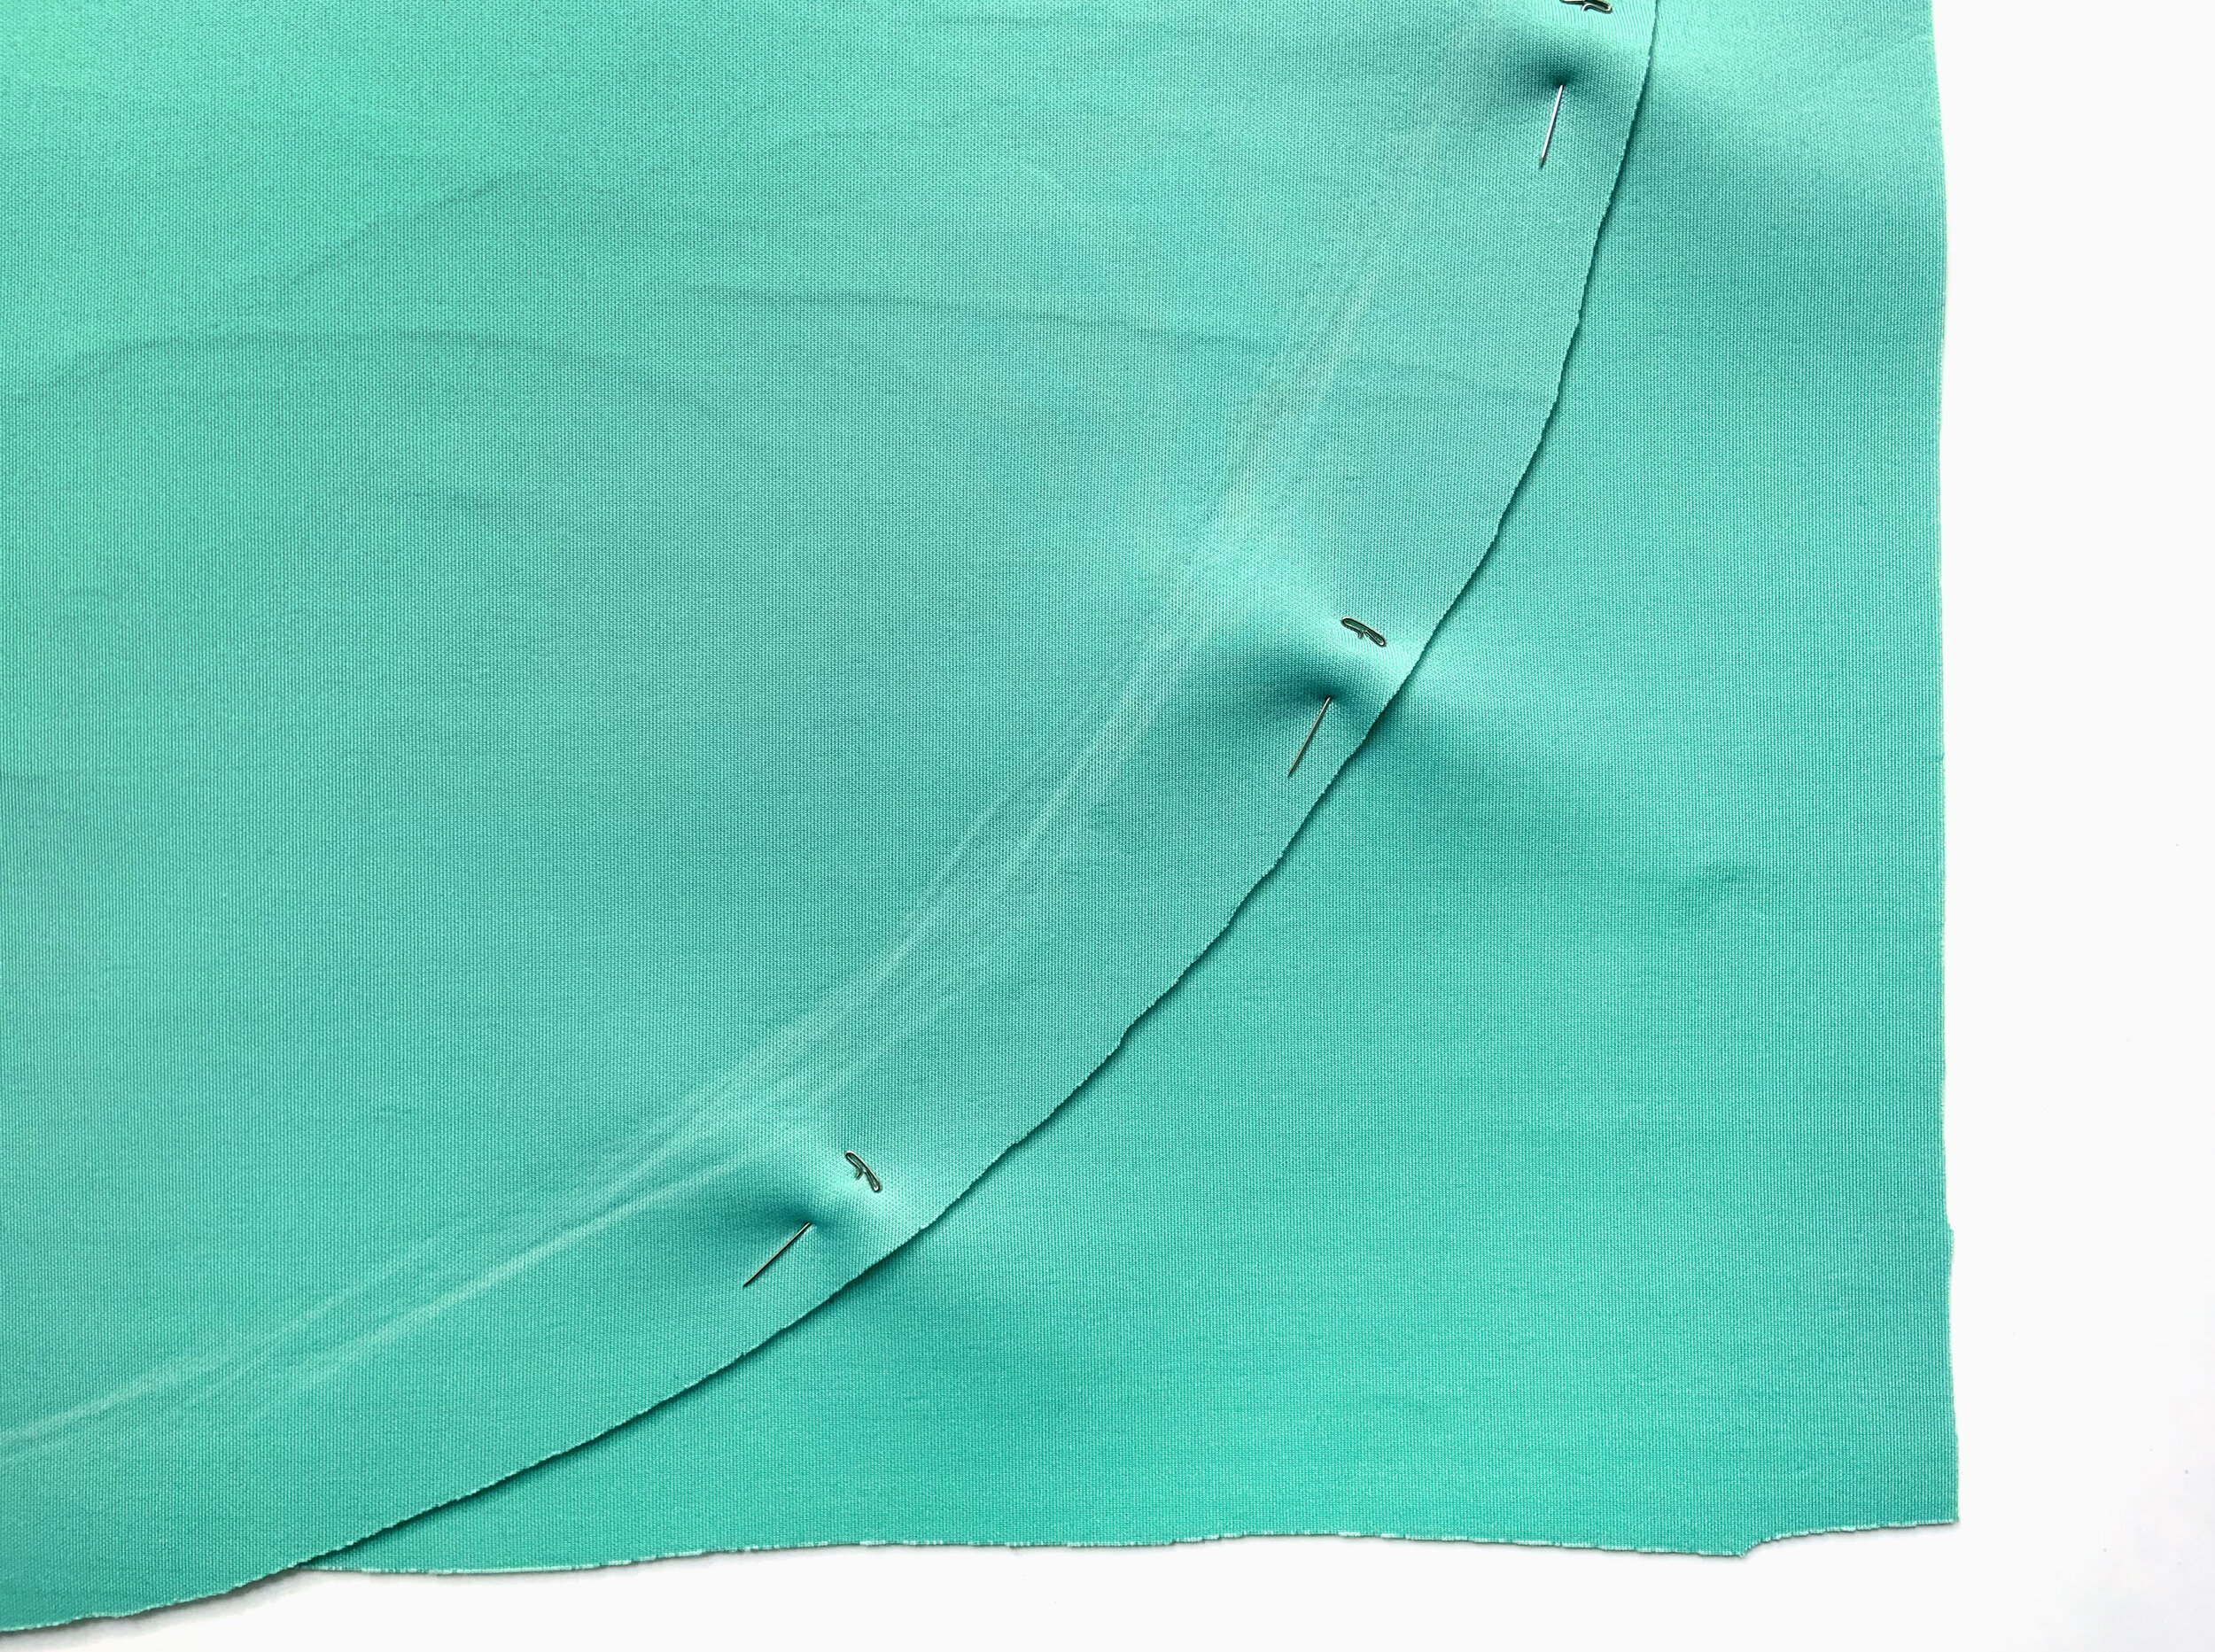

Make it work!
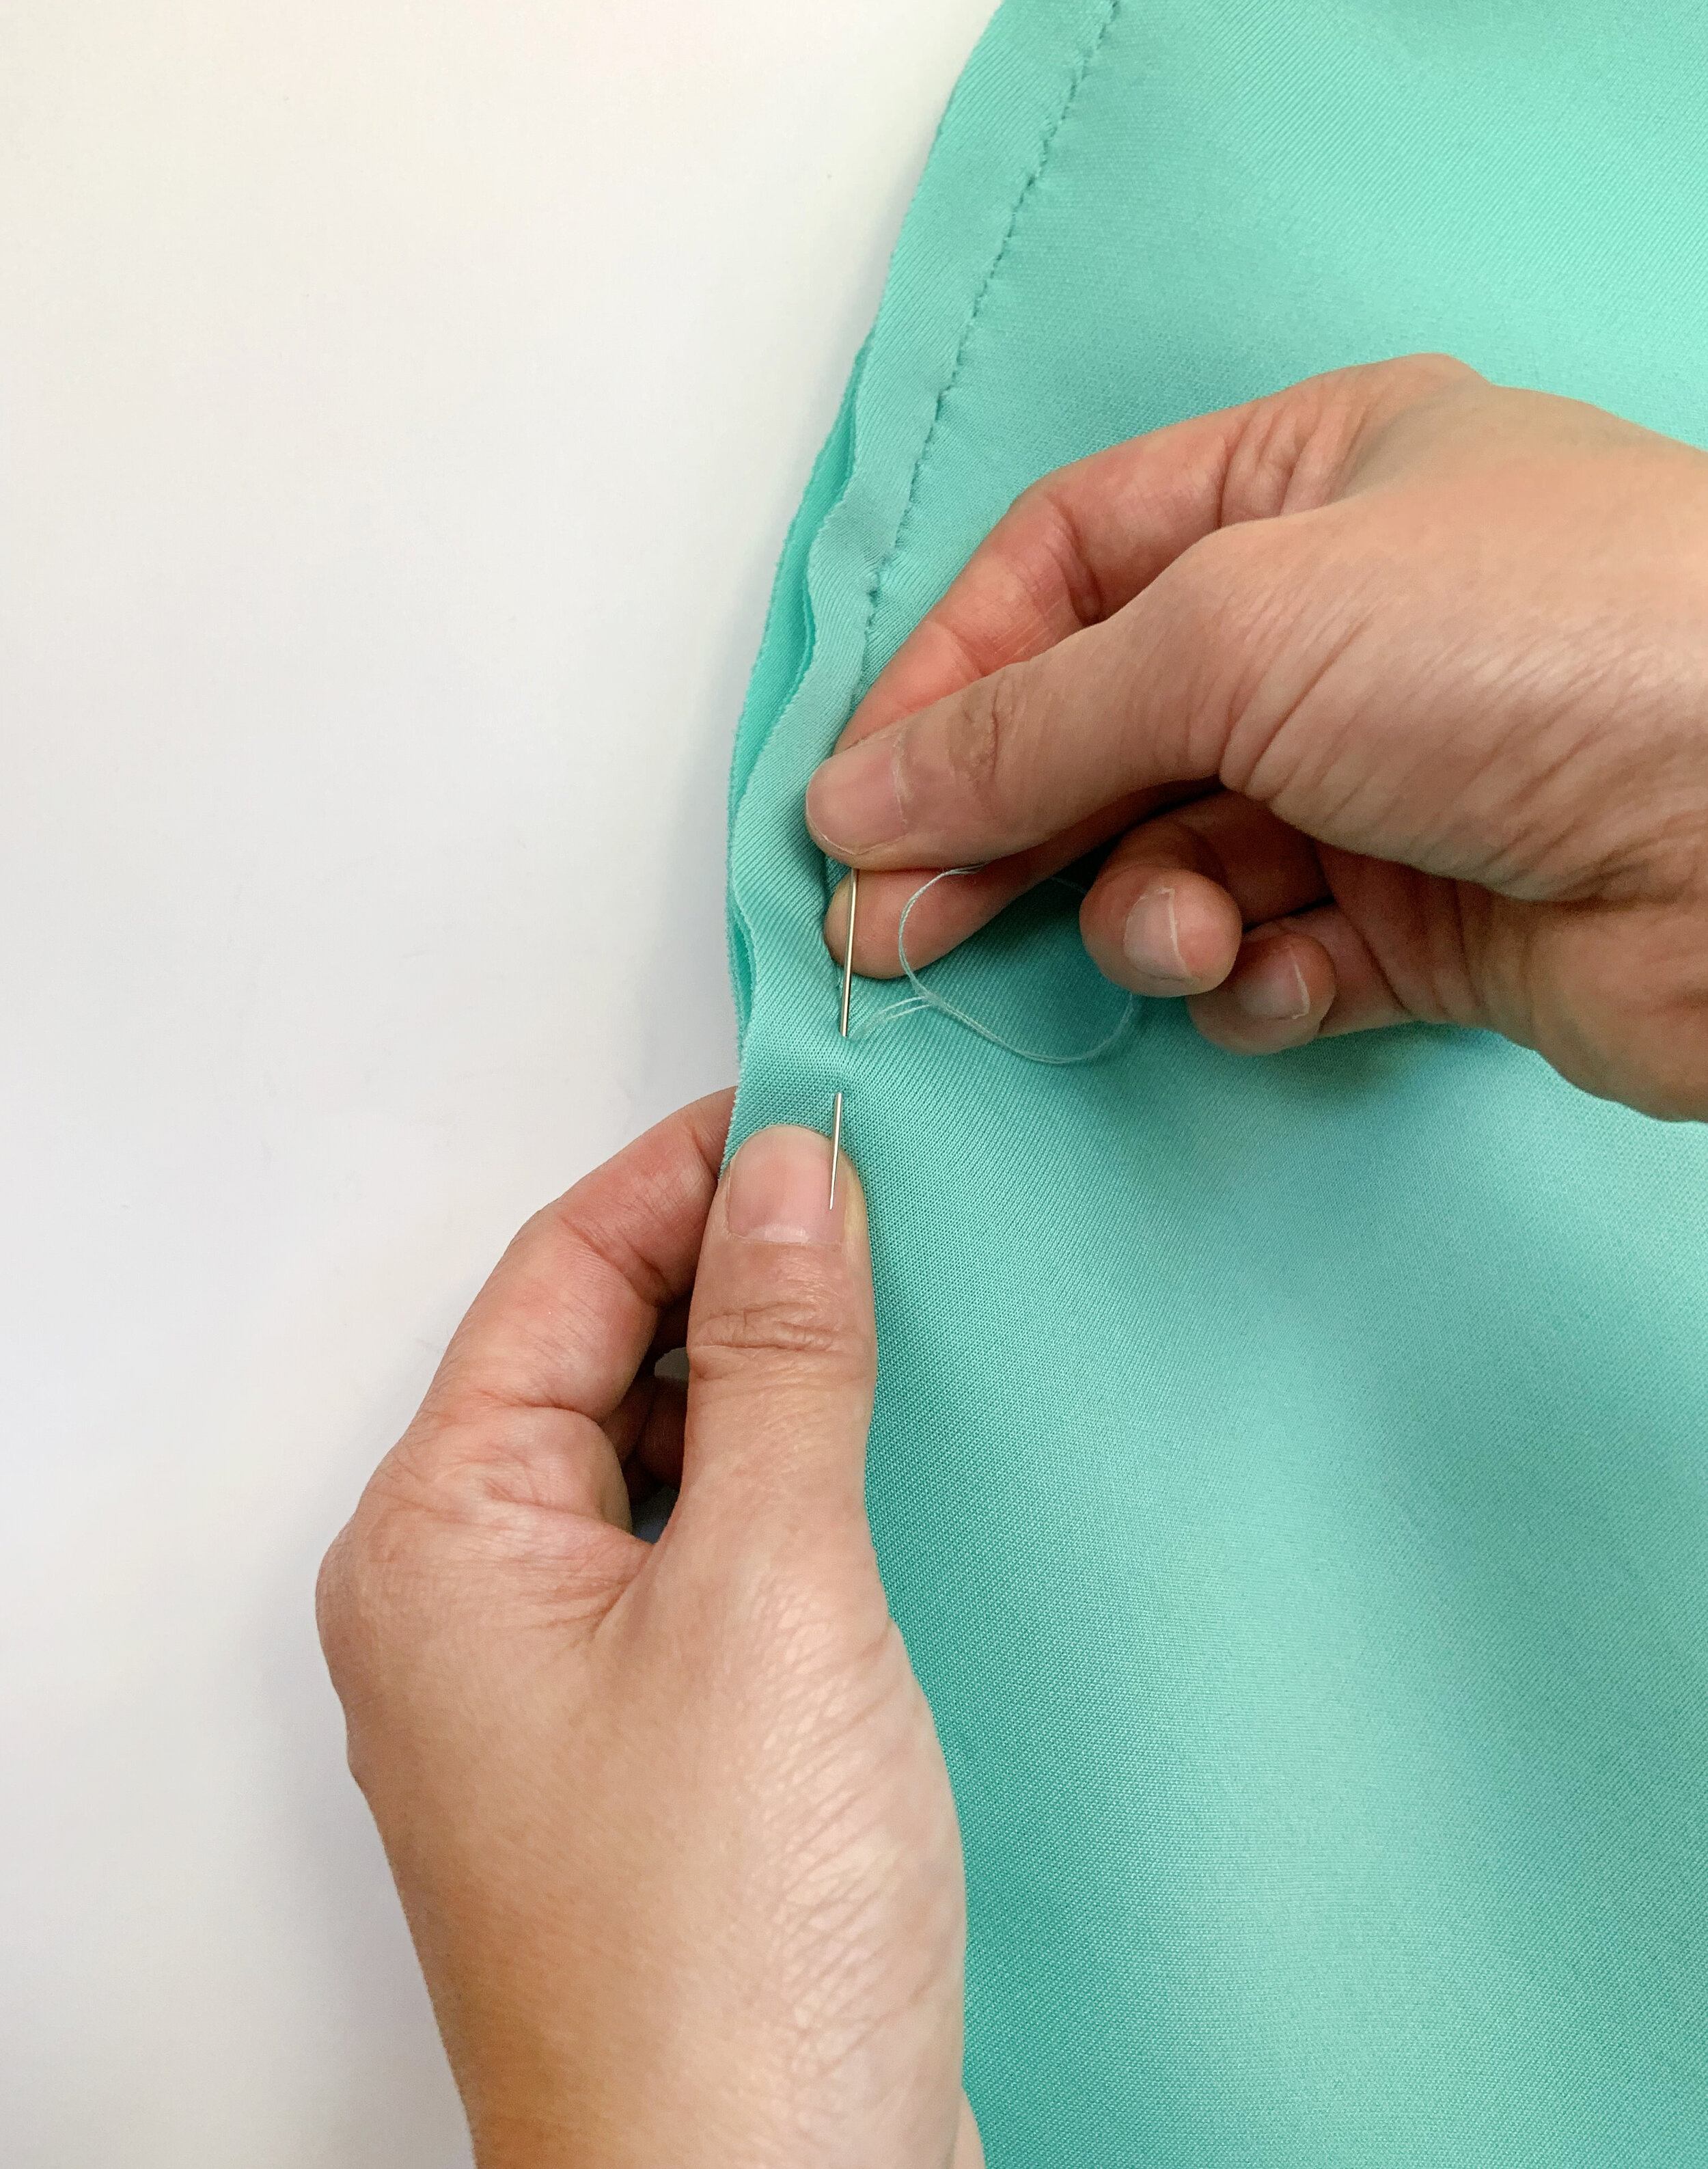
Because I do not have a sewing machine nor do I have space for one in my tiny Brooklyn apartment, I had no choice but to hand sew everything.
At times I was cursing because a 5 minute sewing machine job was becoming a 2 hour hand sewing job, but I just loved knowing that with each stitch I was getting closer to what I was imagining in my head. I think that is a important lesson for life – that small steps may feel insignificant but as they add up you are moving closer to the thing you want to achieve. So little by little just keep moving forward.
Next, the elastic band to create the gathered look when the ropes are pulled. I measured the appropriate length around my upper chest area and sewed both ends of the elastic band together. Note to self: make the band a bit tighter than you think is necessary. I almost boob-flashed everyone when my pouch nearly slipped off while dancing. ECK!


Another “make it work” part. I realized the elastic band would need to be stretched in order to properly sew onto the fabric. I had to get creative and figure out what I could use to keep the band tout and spotted my garden stool. Yes, it looks a little strange, but it worked out perfectly.


I thought a lot about the wording that would go on the pouch. The obvious choice was the Tiffany logo but I wanted to do something unexpected. I toyed with options like ‘Shine Bright & Co’ and ‘Rosie & Co.’
While brainstorming, I saw that Tiffany was in hot waters for an image of model FeiFei Sun that I believe the company was wrongly called out for. Then, the word ‘freedom’ came to mind. With all the shit going on in the world, in our communities and at our borders, it felt like the right word: freedom of expression, of the press, of religion, of a fair election/trial, of going to places without getting hurt or killed, freedom of just being your authentic self without judgment.


OrGANIZED CHAOS
Using a printed guide, I cut felt into the shape of each letter, ampersand and period. Oh, how tedious this was.
I lined the edges with some fabric glue to prevent the letters from fraying. Once I was happy with the placement of the letters on the pouch, I secured them, making sure the glue did not peek out from the edges.


I have a distinct childhood memory of me trying to braid two strands of hair and feeling disappointed when the twist became undone because I did not have the proper technique. Thanks to my always handy YouTube I figured out how to make a yarn rope, the key being that you have to twist each strand in the same direction before you start twisting them over each other. I made two ropes and knotted them on both ends.


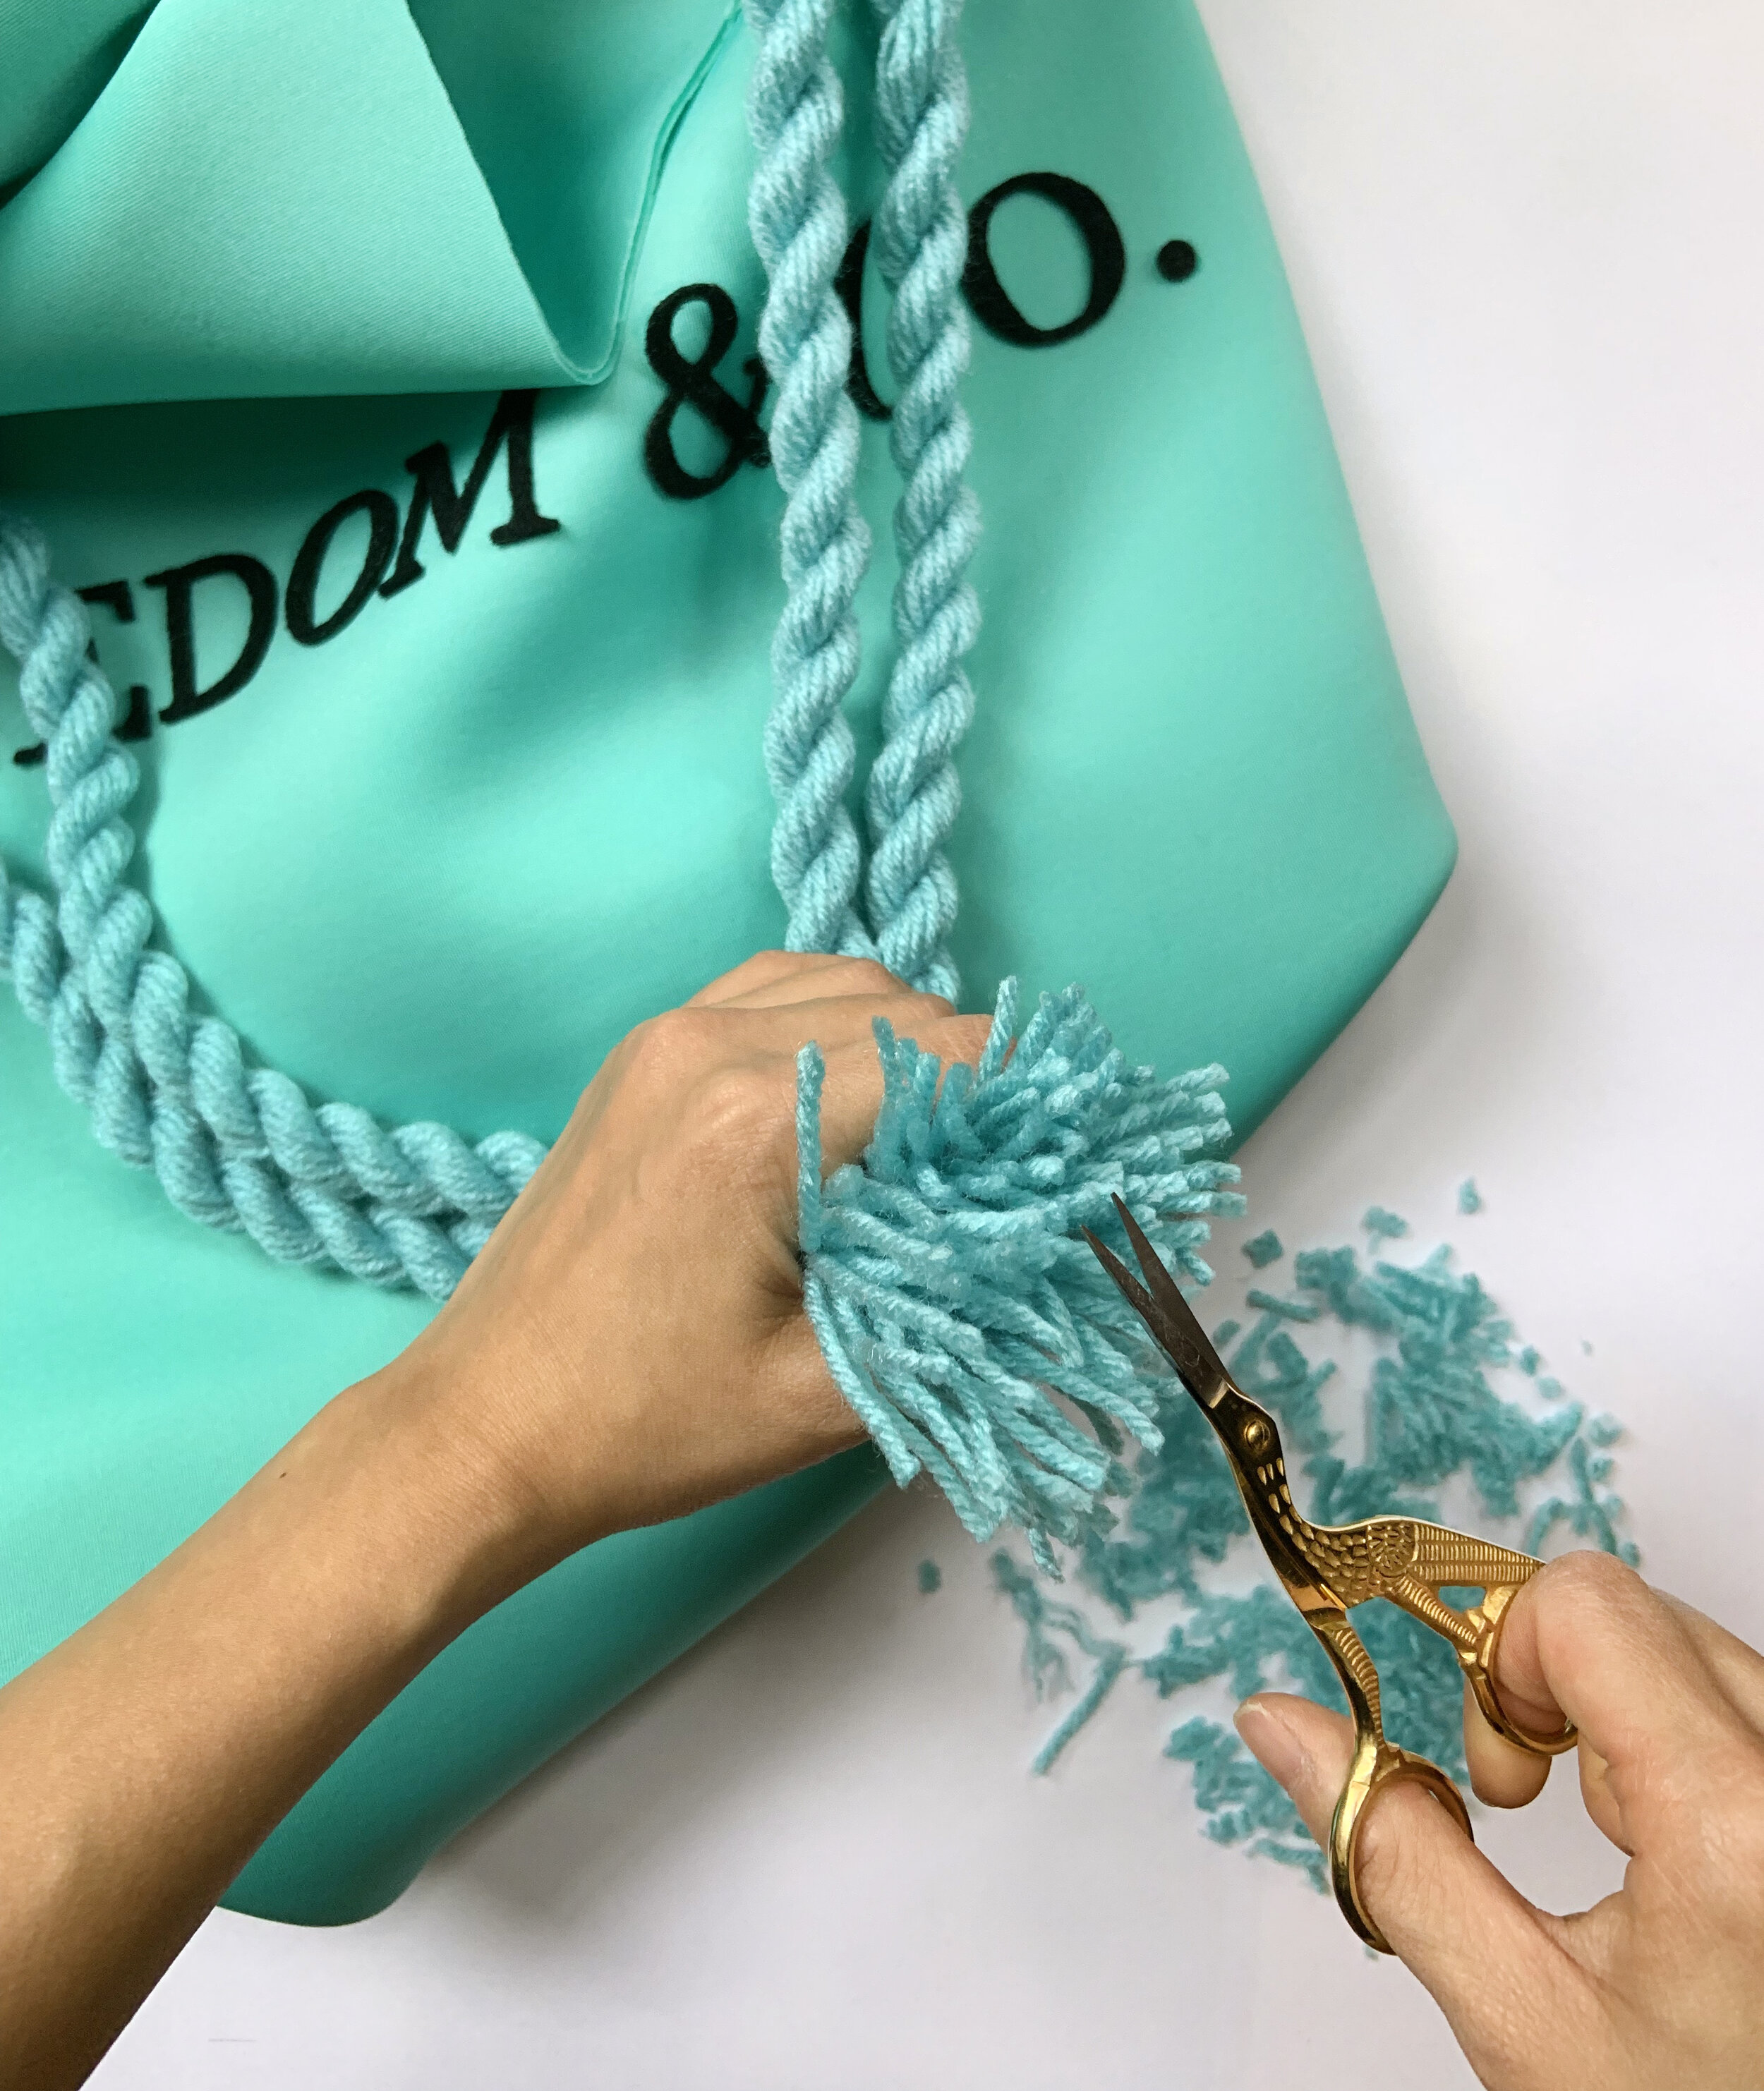
Snip Snip SNIP
After looping the ropes through the arm holes, I trimmed the ends so that they looked even and clean.

The finishing touches were my hairdo inspired by the glamorous fashion of the 1950s and Midge Maisel from The Marvelous Mrs. Maisel, some bling bling earrings, and a white bow as a nod to the iconic Tiffany gift box.


My costume came out even better than I could have hoped for. So simple, so charming, so me. Teehee – I wish I could wear it everyday. As I mentioned at the beginning of the post, making a Halloween costume is such a creative outlet for me that allows me to be my most authentic self as a creative. This project did just that. Happy creating!